Web server on home router
In this article I present a way to install a simple and basic web server on your home router. I will not show the procedures in detail, I will just list the steps to be followed. My method is based on installing a linux operating system called OpenWRT. If you don't have experience in Linux/UNIX, don't try to install this OS, you will make the router non-functional. More details can be found on the OpenWRT project website [1]. I made three servers with this method, two with Linksys WRT160NL in 2010 and 2015 and one with Linksys EA4500 in 2017. The Linksys brand was sold by Cisco to Belkin in 2013, and this brand is now owned by Foxconn (Taiwan) as of 2018.
To create a web server for your company, you can use a Web Hosting Provider and buy the service for Web Hosting and Domain Name. For your home, you can use free hosting option for a basic HTML webpage and free dynamic DNS services.
The simplest method of hosting yourself a website on your home is to use a dedicated computer on your own network and apply a port 80 forward on the WAN router. I have used this method at my home for a couple of years with the calculator from link [3]. You can install OpenWRT on a PC computer, transforming old or dedicated computer hardware into a powerful, highly customizable router and firewall. However, the computer must be kept permanently powered, this means additional costs for electricity consumption and sooner or later the computer hardware it will break.
To install OpenWRT you must follow the next steps:
1. Choose very carefully a compatible router [2]
2. Install OpenWRT for that router. Every router model has his own initial factory install package
3. Change port for LuCI (Lua Control Interface) web interface on µHTTPd to another value, for example 34033
4. Setup network interfaces WiFi, LAN, WAN, firewall (figure 5) and optional rules (figure 6), verify internet connection and router functions
5. Install and setup USB packages, connect an USB flash memory used to store website files (figure 3)
6. Install lighttpd package used for external webserver, will work on port 80
7. Install OpenSSH package (optional) and change port value, for example to 49047 (figure 1)
8. Configure Dynamic DNS service for your Domain Names (figure 2)
9. Configure NTP Client (figure 7)
10. Configure Scheduled Tasks (figure 8)
|

Figure 1
SSH |

Figure 2
DNS |

Figure 3
USB |

Figure 4
PUTTY |
|
Specification for WRT160NL:
- Chipset Qualcomm Atheros AR9130
- CPU 400MHz MIPS 24K
- ROM: 8MB
- RAM: 32MB
- Ethernet: 1x 10/100M WAN and 4x 10/100M LAN ports
- Switch: Realtek RTL8306SD
- Wi-Fi: AG7100 2.4 GHz
- 1x USB 2.0 port
Specification for EA4500v3:
- dual firmware layout for OEM firmware: working and backup partitions
- Chipset Qualcomm Atheros QCA9558
- CPU 720MHz
- ROM: 128MB mapped 2 x 64MB
- RAM: 128MB
- Wi-Fi: simultaneous dual-band 2.4 GHz and 5 GHz
- Ethernet: 1x Gigabit Ethernet WAN port and 4x Gigabit Ethernet LAN ports
- 1x USB 2.0 port
- OpenWRT will not make use of dual firmware layout and will disable it
|

Figure 5
Firewall |

Figure 6
Rules |

Figure 7
NTP |

Figure 8
CRON |
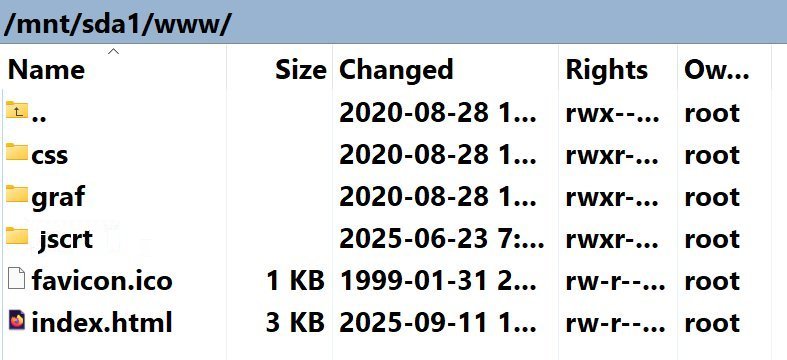
Using internal flash to store the web pages: The internal flash is the memory on the router's circuit board that holds the router's operating system, in our case OpenWRT. It has a limited capacity, but you can even put web page files on it, a few MB of data. For that you have to mount (figure 9) an additional symbol link (figure 10) in this flash memory and to configure lighttpd to read the files from there (figure 11).
The webpages created are without server side scripting like PHP, rather I have used JavaScript, a standard language. JavaScript [7] is still the most used programming language for web development, because only JS is supported across all web platforms.
|

Figure 9
Mount |

Figure 10
FSTAB |

Figure 11
WWW |

Figure 12
EA4500 PCB |

Figure 13
Serial Conn |

Figure 14
Serial Pinout |
Figure 15
WRT160NL PCB |
|
Disclaimer: The information on this web site is provided "AS IS", without warranty of any kind.
The author has made the best efforts to ensure that the designs and the information provided are reliable.
Under no circumstances shall the author be liable for any direct, indirect, incidental, special
or consequential loss, damage, expense or injury incurred or suffered which is claimed
to resulted from use of this site, even if expressly advised of the possibility of
such loss, damage, expense or injury,
including, without limitation, any fault, error, omission, interruption or delay with respect thereto.
Links:
[1] - OpenWRT website
[2] - Supported routers
[3] - Low power PC Computer
[4] - WRT160NL datasheet
[5] - EA4500 datasheet
[6] - Serial to USB adapter
[7] - JavaScript - The definitive guide, 7th edition by David Flanagan, 2020
|
|